
Users’ Guide


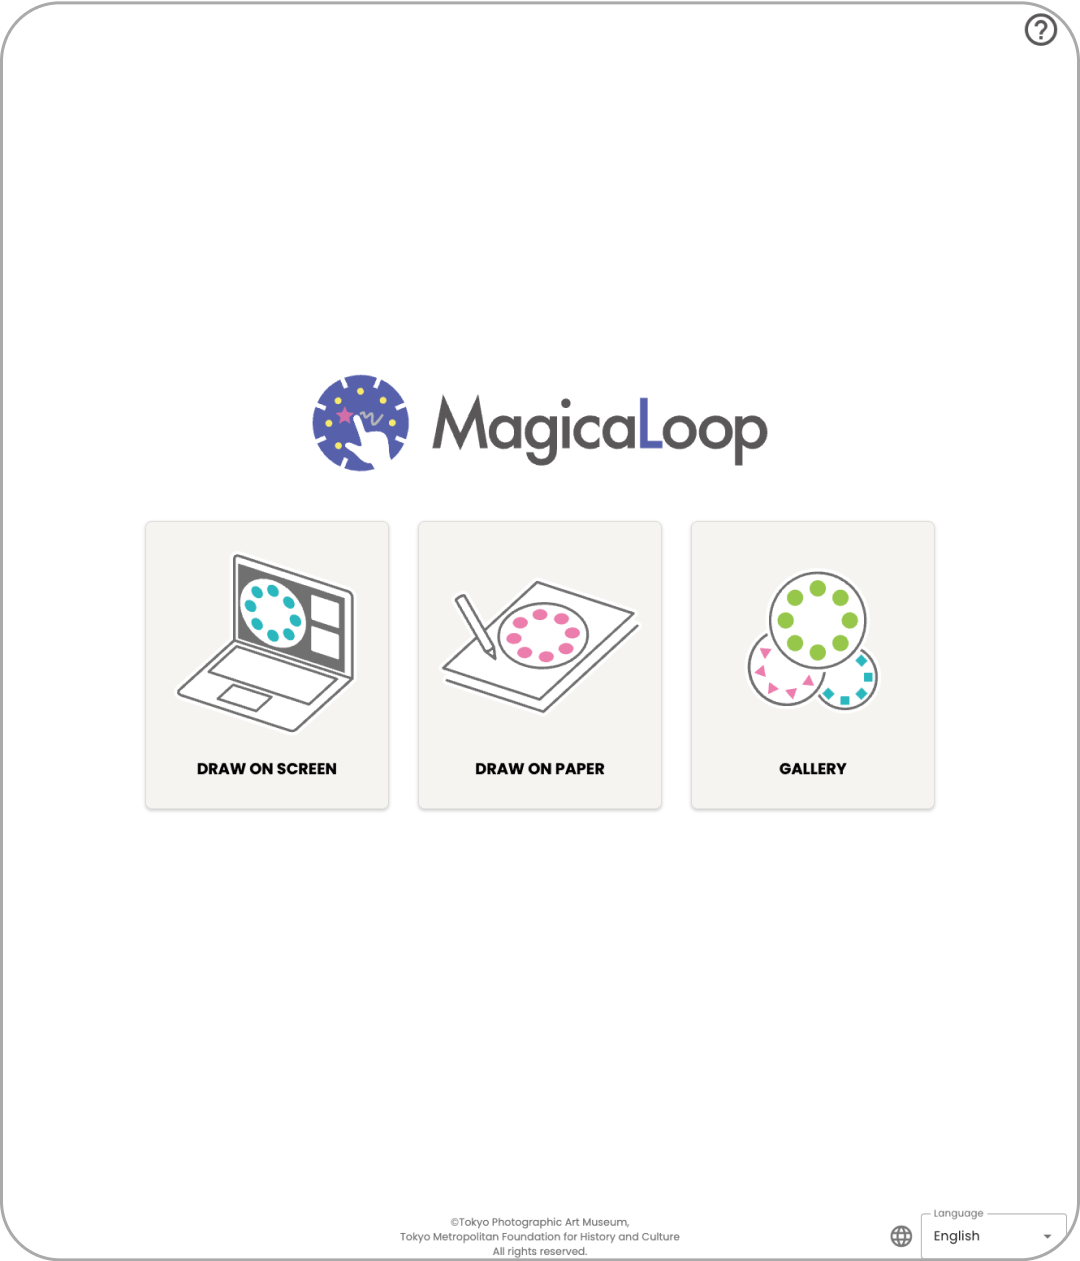
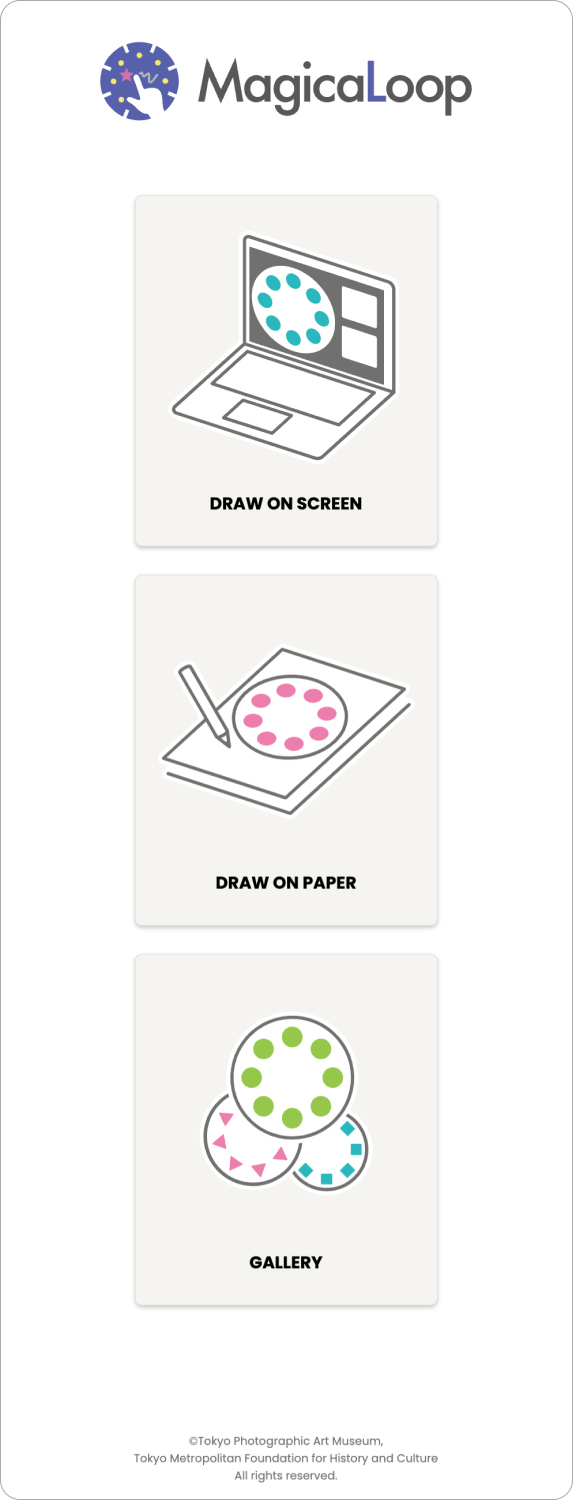
App Activities
-
- Draw on Screen
- Make optical animation using a tablet or other device. Save your work as a video file or print it out.
-
- Draw on Paper
- Print out the template and draw pictures and shapes on the paper. Import the data into the app and turn it into optical animation.
-
- Samples
- View examples of other optical animations as references.

Draw on Screen
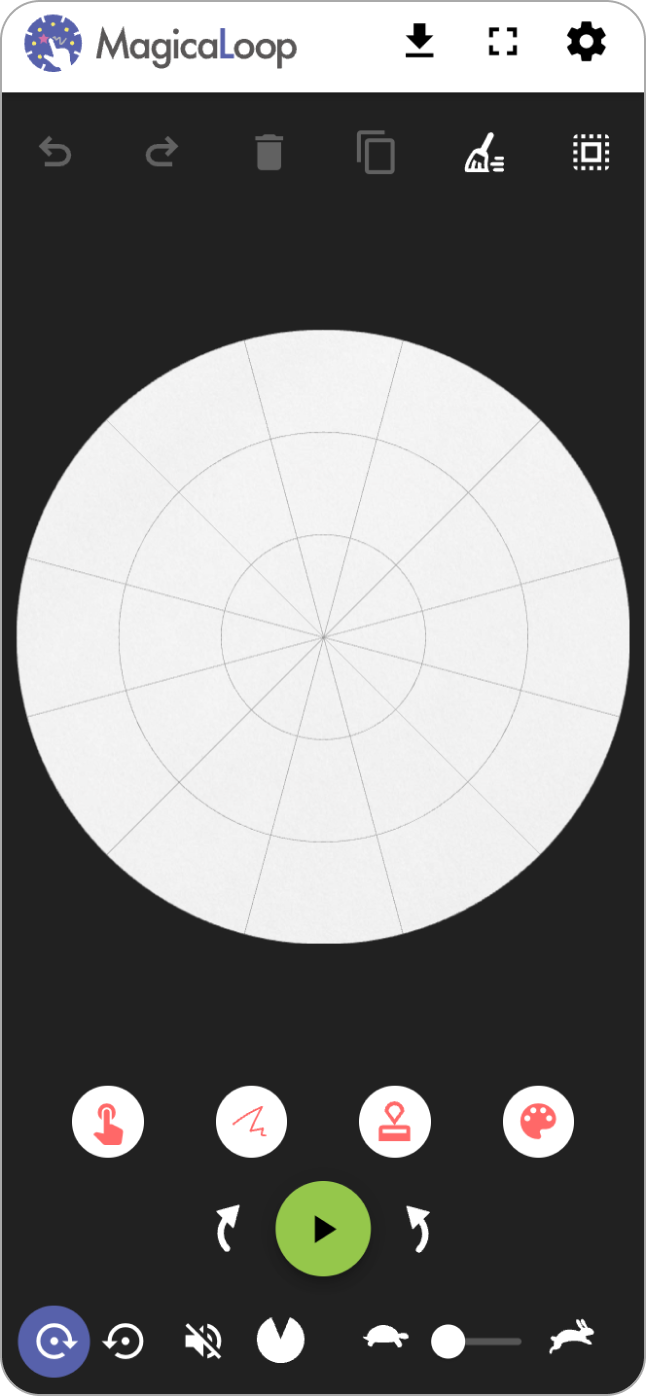
About the interface
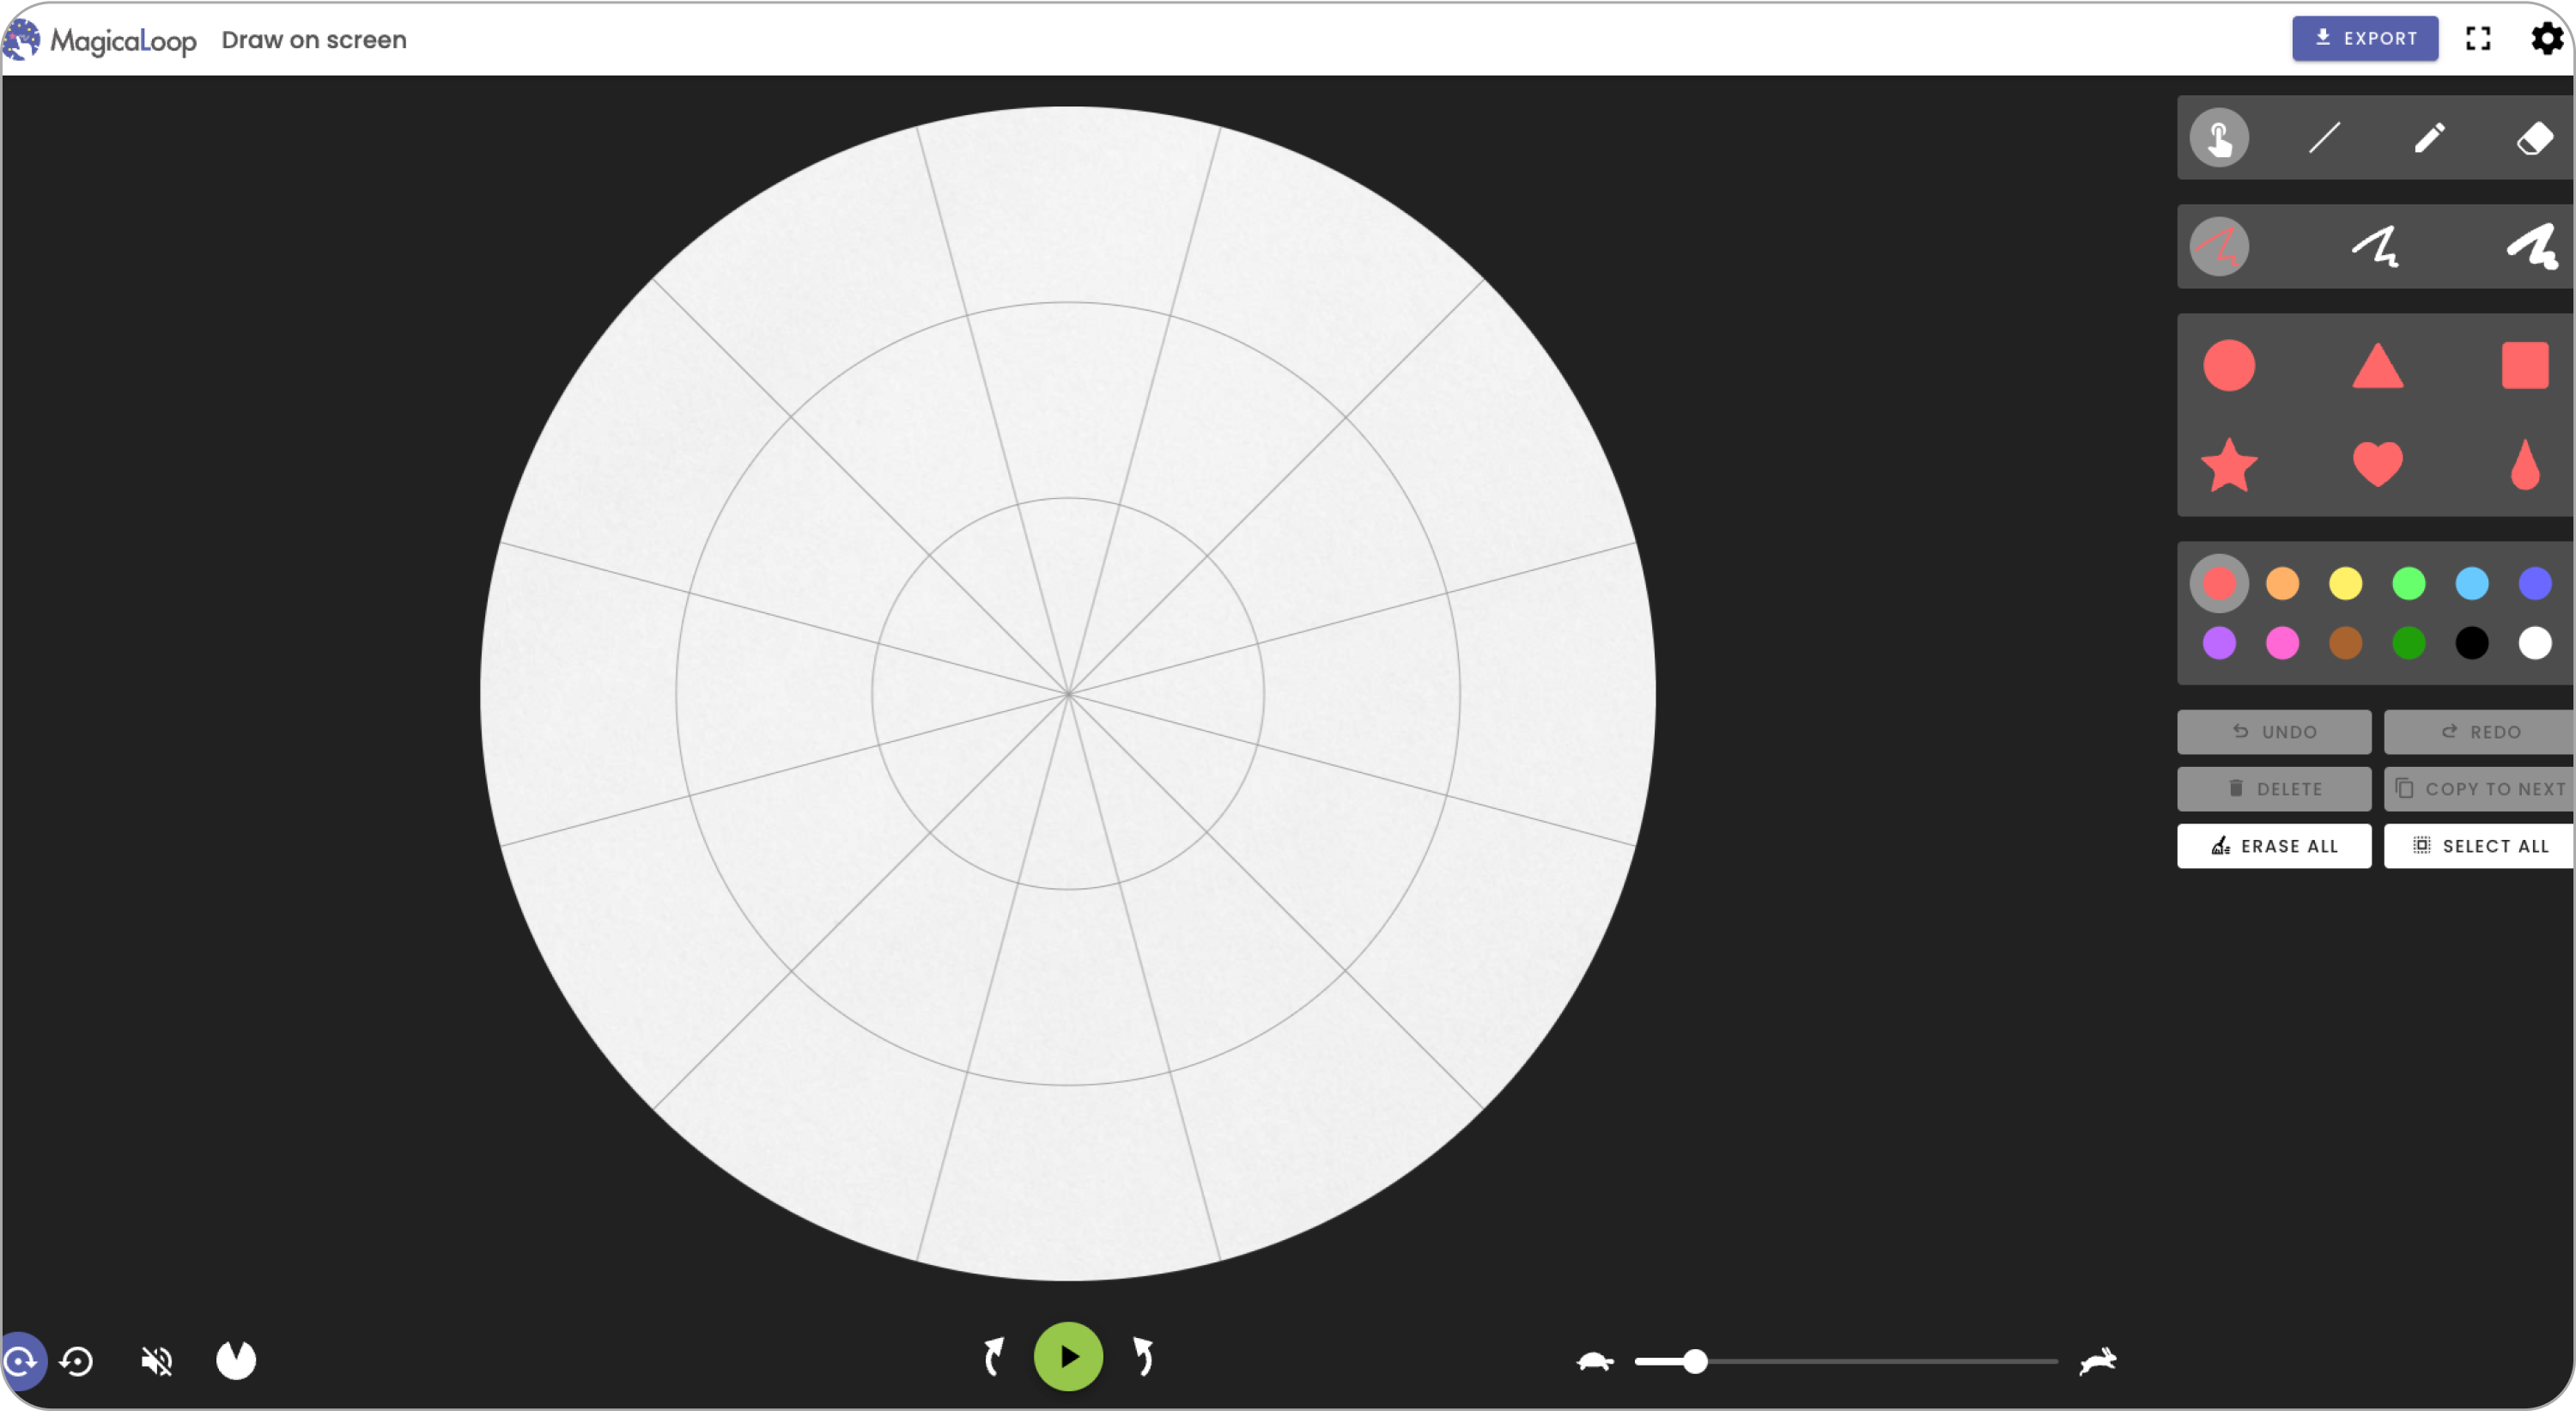
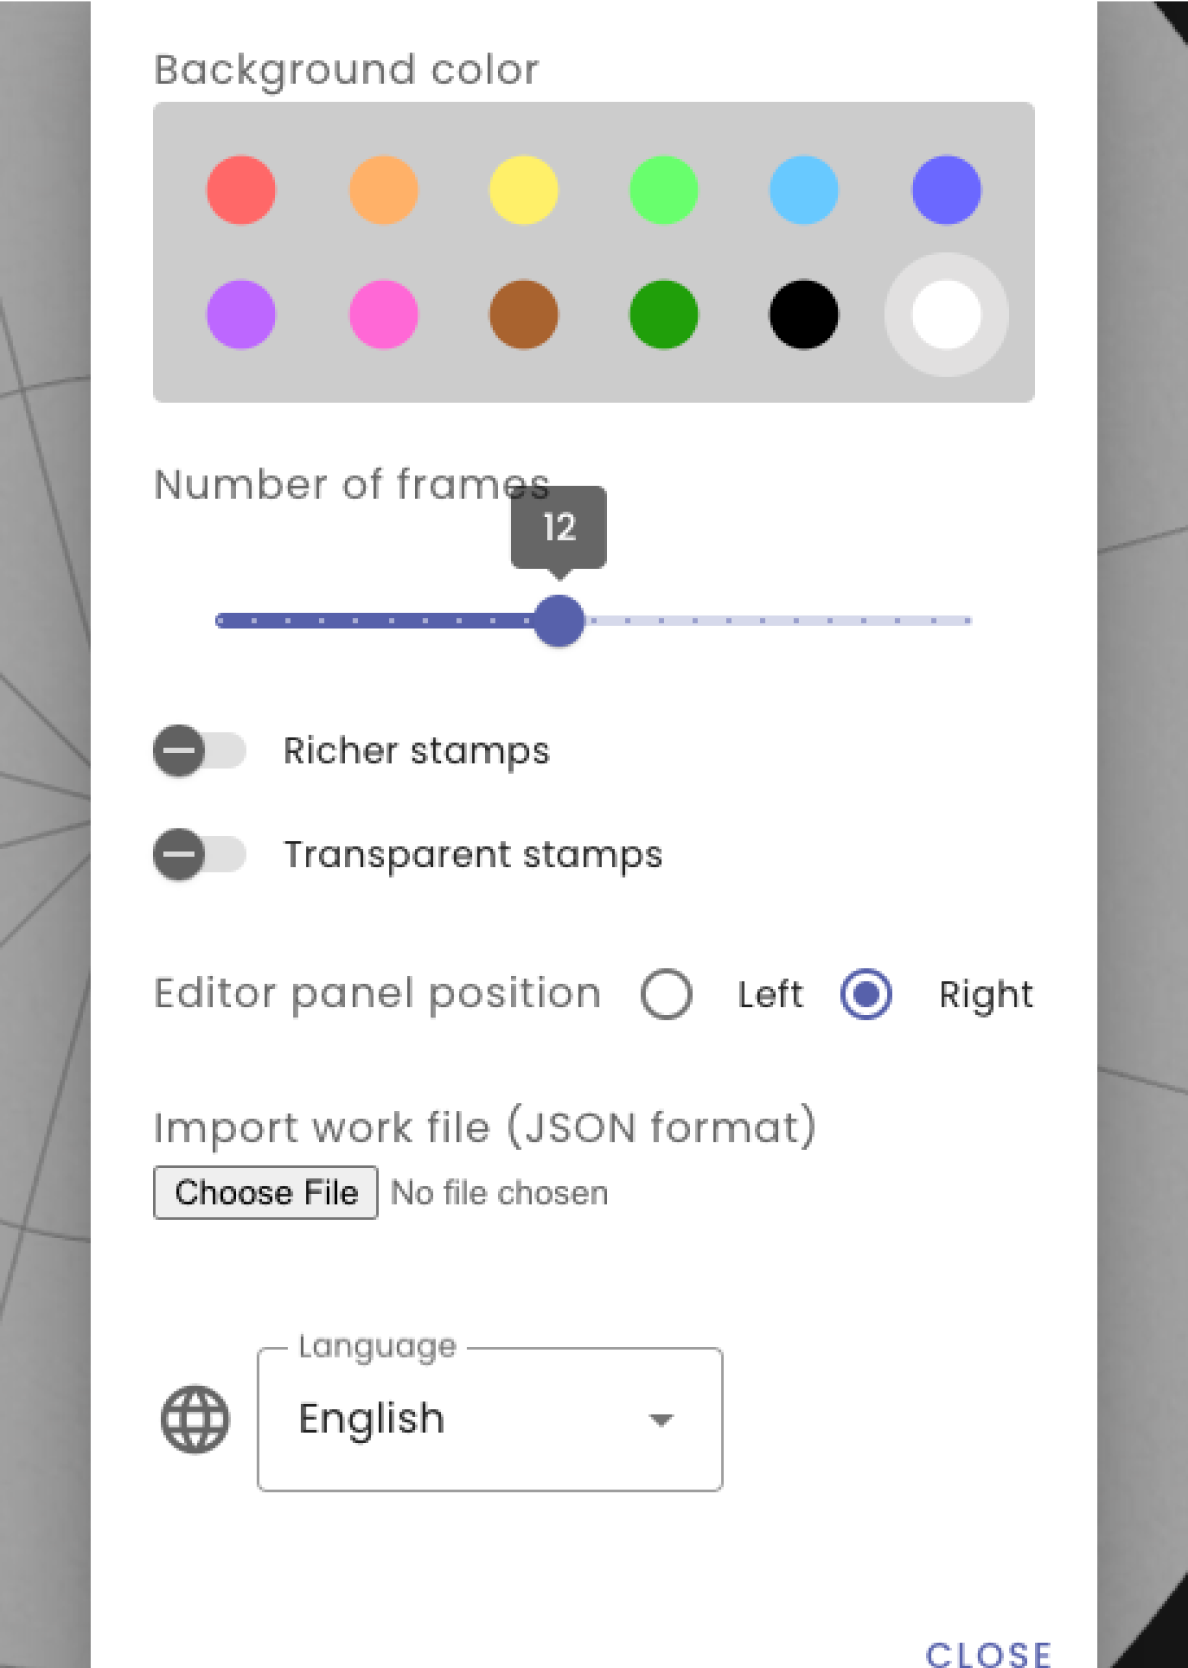
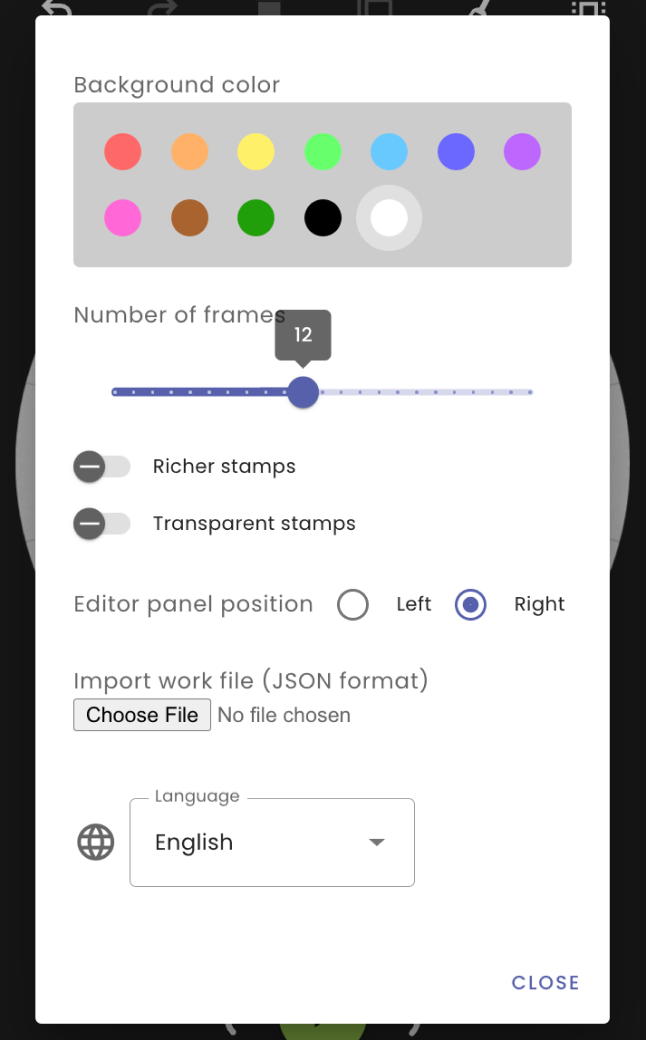
- Settings
- Click the gear icon in the upper-right corner of the screen to access the settings needed to draw on screen.
- Set the disc background color and number of frames per rotation
- Adjust settings for the stamps and position of the editor panel
- Import work files saved in the JSON editable format
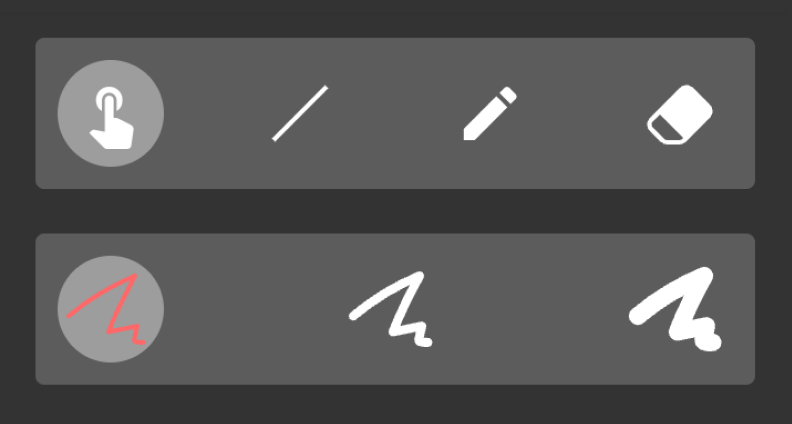
- Selection / Line / Pen tools
- Select from the tool options.
- Selection tool— Select stamps and drawings
- Line tool— Draw straight lines
- Pen tool — Freehand drawing. Select line thickness and color.
- Erase tool— Erase lines and objects. Select thickness of the tool.
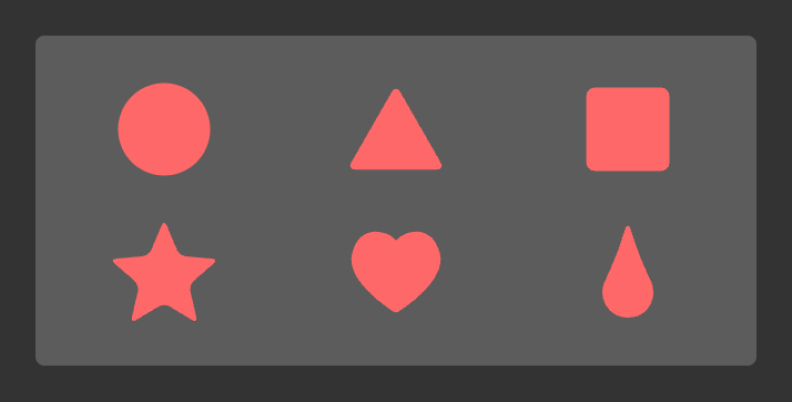
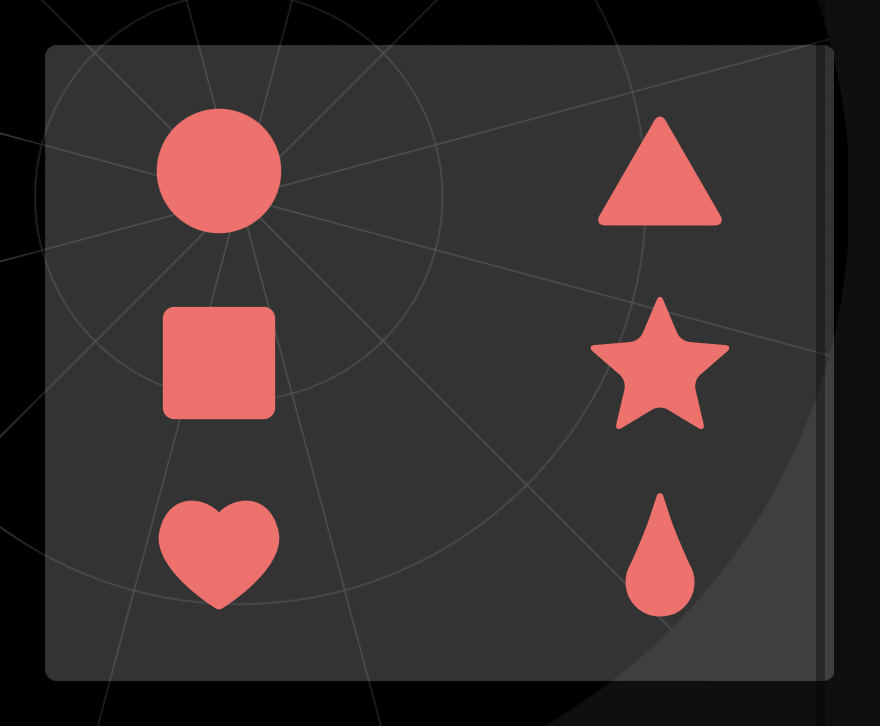
- Stamp tool
- Select from six basic shapes. Can be increased to 18 shapes in Settings.
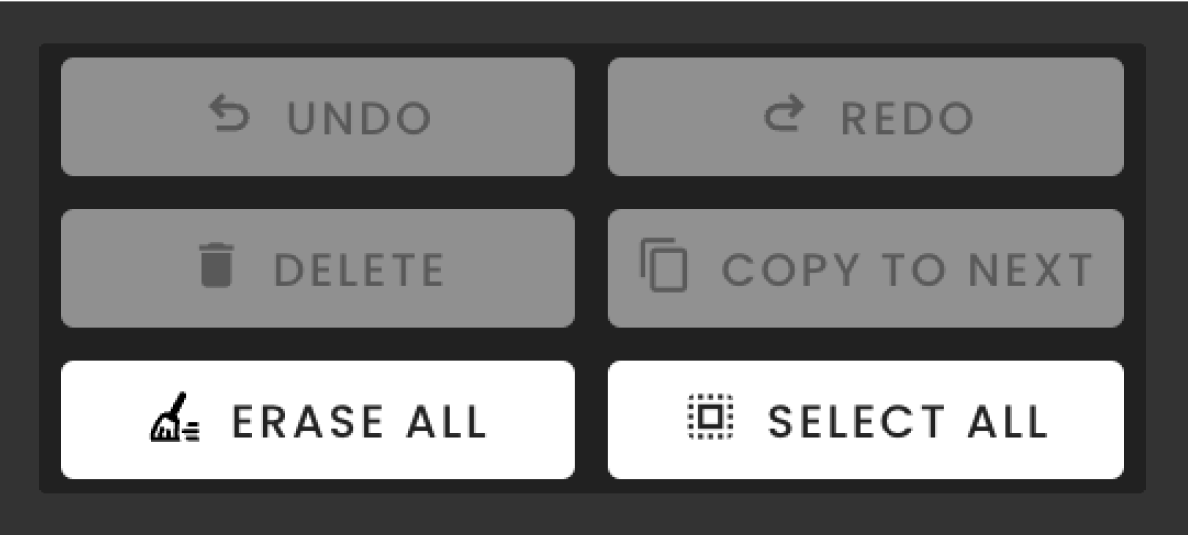

- Edit buttons
- Tools for selecting and editing objects and lines.
Preview playback
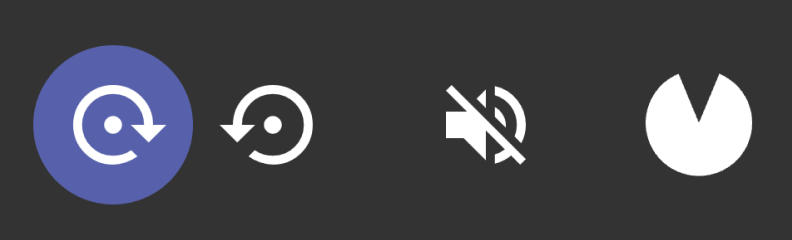
- Playback direction
- Toggle between clockwise and counterclockwise playback.
- Sound ON/OFF
- Toggle between ON/OFF for sound effects.
- Zoom to single frame
- Zoom to a single frame (one “slice”) of the animation.
- Play button, Single frame advance right/left
- The green button in the lower center of the screen is the play button. Click on the arrows for “single-frame advance right/left” to rotate the disk into a position that makes it easier to draw.

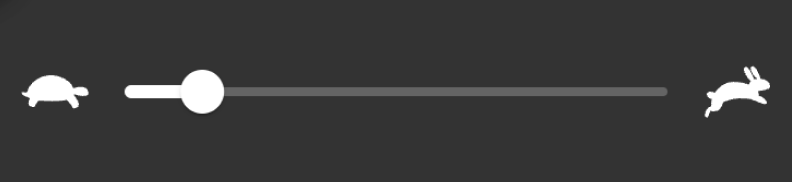
- Playback speed
- Adjust the slider from slow (turtle) to fast (rabbit).

- Click this icon in the upper-right corner for full-screen display.
Save animation data


- Export
- Click the Export button in the upper-right corner of the screen to save your animation.
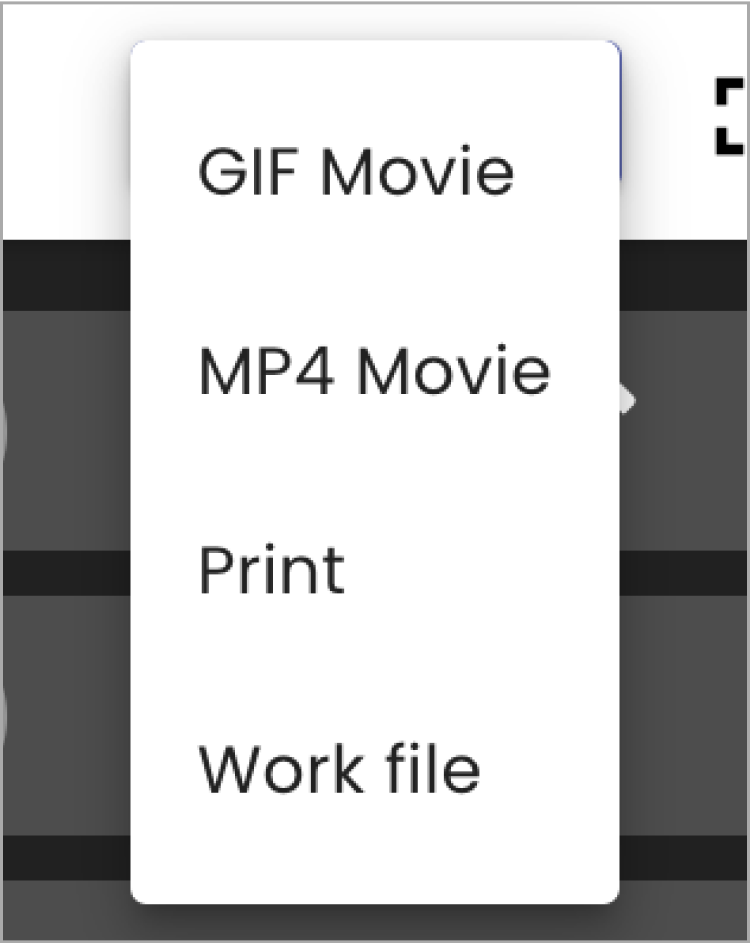
- GIF Movie, MP4 Movie
- Download the GIF/MP4 video data to your device.
- Download your work as a PDF still image. Print out the PDF file.
- Work file
- Download your data in the editable JSON format.
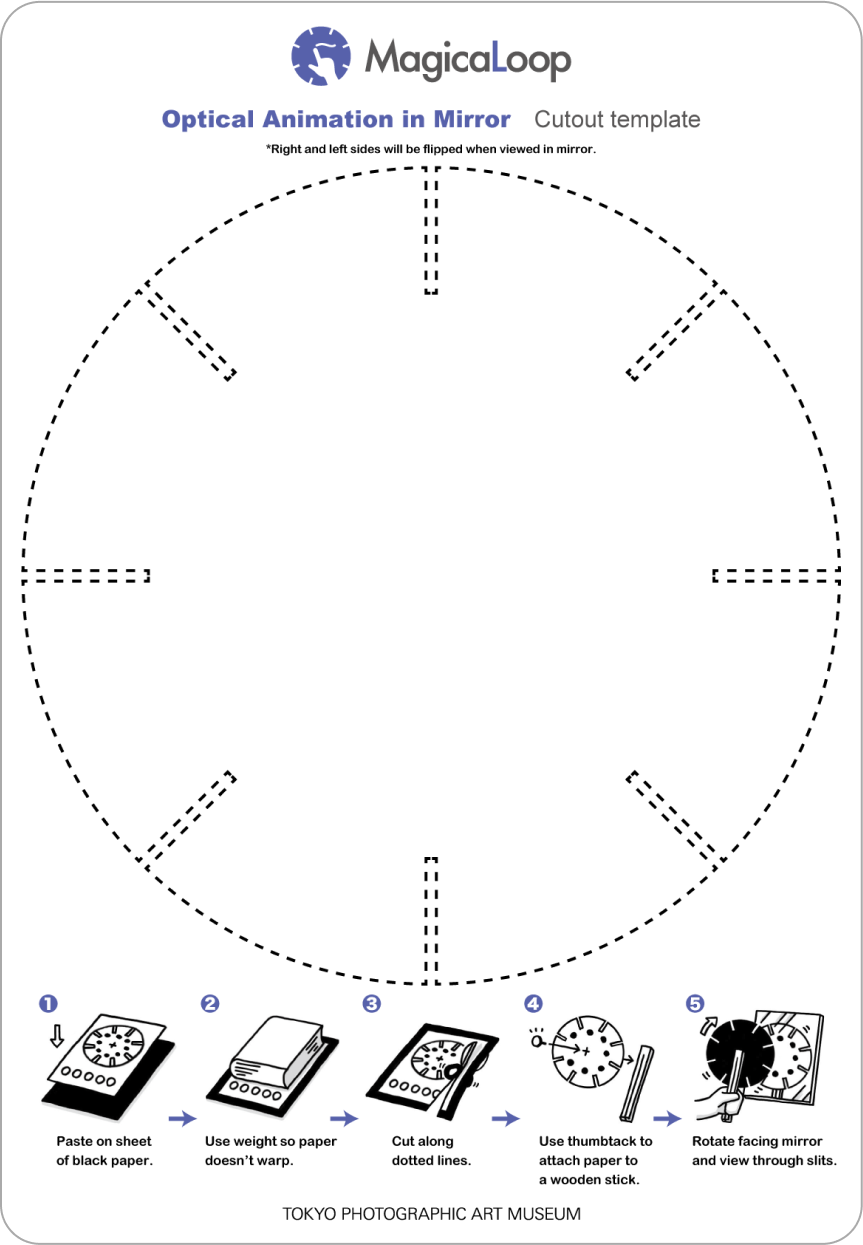
- View optical animation in mirror
Cutout template
- Select “print” and print the downloaded “cutout template” PDF to create paper-based optical animation. Consult the template for instructions.

Pointers for making animation with MagicaLoop
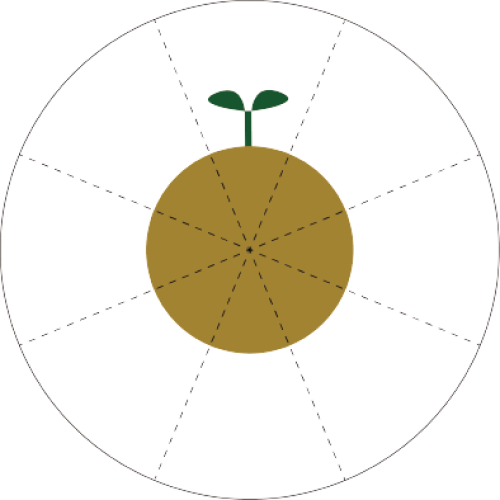
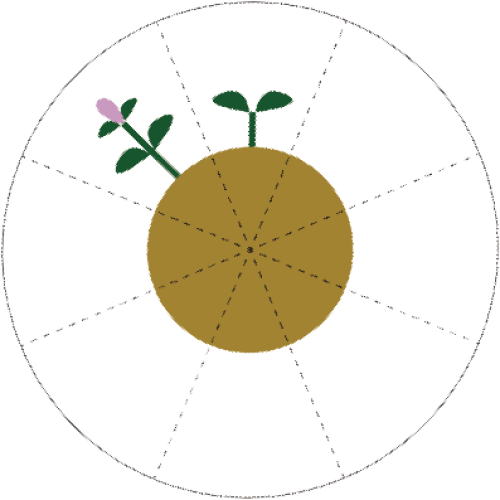
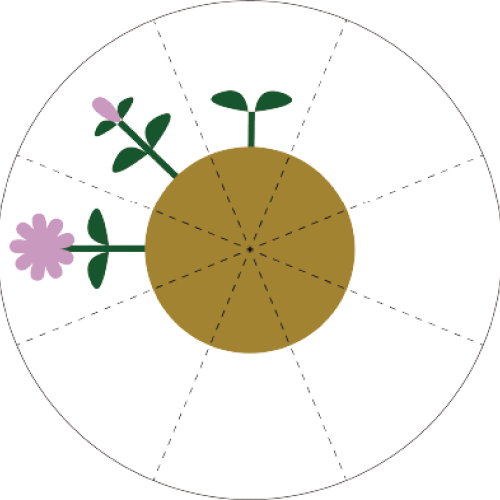
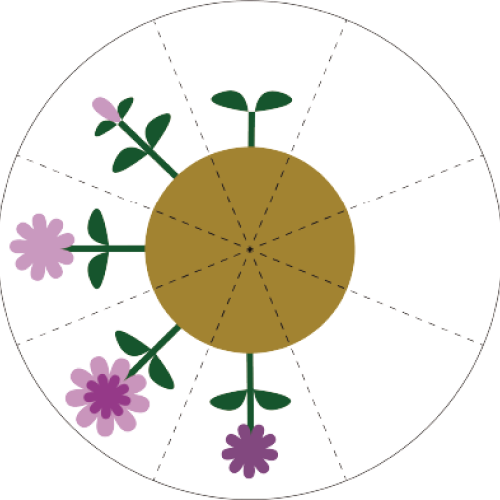
Optical animation is created through consecutive frames. MagicaLoop allows you to use 2 to 24 frames per rotation, but using more frames means each frame has less screen area and increases the amount of things to draw. The standard number of frames is 8 to 12 frames.
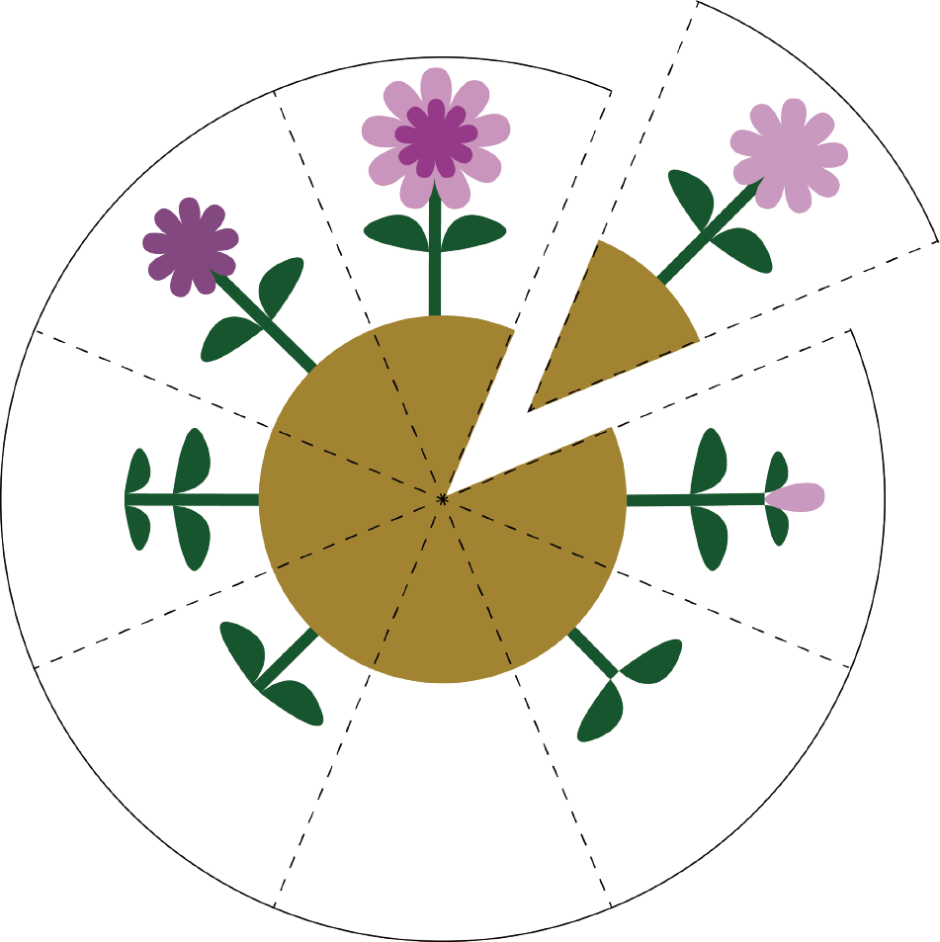
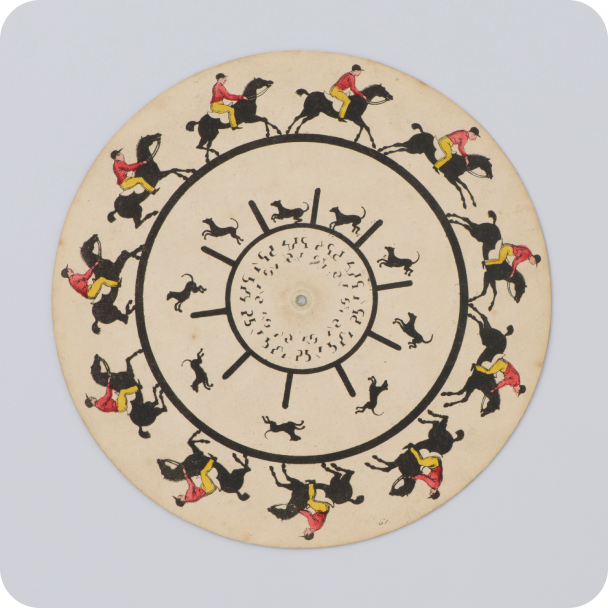
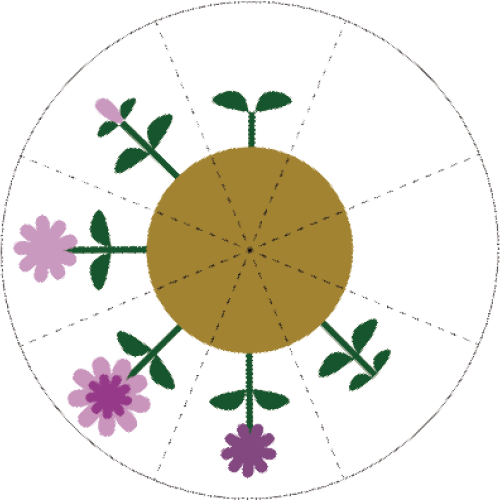
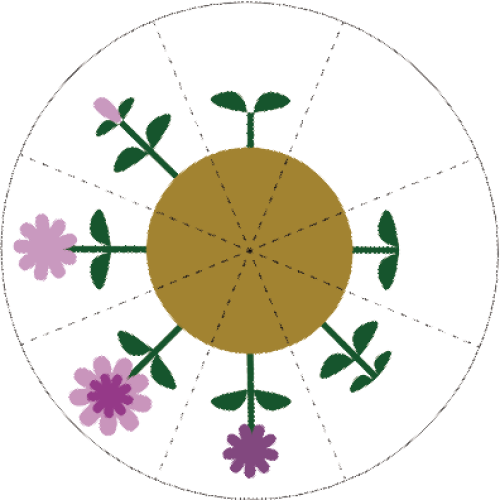
Example of 19th-century optical animation
Use MagicaLoop to draw pictures and position shapes so that each frame changes little by little. In this example, the sprout emerges, the flower blossoms, the petals drop, and the sprout comes out again. By adding one frame without the plant, the start and finish look connected when the disc is rotated. When you use MagicaLoop, think about the movement of each frame.

Download PDF of this page